
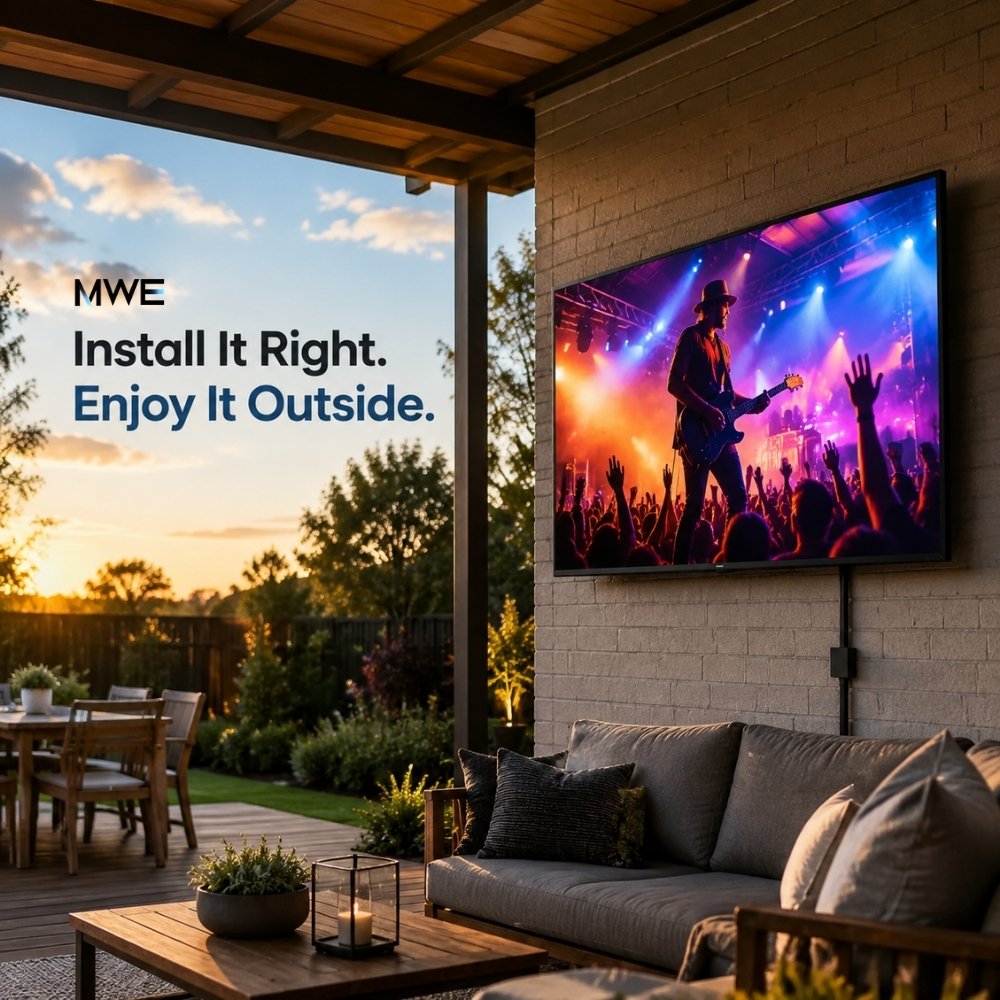
An outdoor TV installation can look like a simple mounting job. In practice, the bracket is only one part of it. Sunlight, wall strength, power, cable routes, Wi-Fi, heat, rain, and viewing height all affect the final result. Get those decisions right before drilling, and the TV will be easier to watch, easier to maintain, and far less likely to need a second installation.
This guide focuses on the installation itself. It gives homeowners, hospitality teams, contractors, and AV installers a practical way to plan the work without turning the project into a technical maze.
The short version: choose the location during the hours when you will actually watch, match the mount to the TV and structure, prepare safe outdoor power, test every connection before lifting the screen, and leave enough access for service later.
Safety note: A large TV is heavy, and outdoor electrical work carries real risk. Follow the TV and mount manuals, follow local building and electrical rules, and use a qualified installer or licensed electrician when the structure or power supply is not clear.
Outdoor TV installation starts with the site
It is tempting to pick a blank wall and begin there. Pause first. The best-looking wall at noon may catch hard glare at 5 p.m., just when the patio is in use. A clean cable route may also become awkward once the mount extends or turns.
Spend a little time in the space before buying hardware. Stand where the main seats will be. Check the sun at the normal viewing time. Look for reflected light from windows, pale paving, pool water, and stainless-steel appliances. Also note wind-driven rain, sprinkler spray, cooking smoke, and heat from a grill or fireplace.
| Site question | Why it matters | What to check |
|---|---|---|
| Where is the sun during viewing hours? | Direct light and reflections can wash out the picture. | Observe the wall in the afternoon and evening, not only in the morning. |
| Can the structure carry the load? | The TV, mount, extension arm, and wind all add force. | Find studs or confirm the masonry, post, or beam is structural. |
| Is safe power nearby? | Outdoor power needs weather protection and local code compliance. | Check the outlet, cover, circuit, and cable route with an electrician if needed. |
| Will Wi-Fi reach the TV? | Walls, metal doors, and distance can weaken streaming performance. | Run a speed test at the exact mounting point with doors closed. |
| Can someone reach the ports later? | Apps change. Cables fail. Devices get replaced. | Leave room to reach power, HDMI, USB, antenna, and network connections. |
1. Choose a location that controls light and exposure
A roof, deep eave, covered patio, or pergola can reduce rain and direct sun. That extra shelter still helps when the TV itself is weather-rated. It lowers surface heat, limits water sitting around connectors, and makes the screen easier to see.
Screen direction matters too. In many Northern Hemisphere locations, a north-facing screen can receive less direct sunlight. It is not a rule for every yard, though. Trees, buildings, seasons, and the time of use can change the answer. Check the real sun path in your space.
Keep the TV away from strong heat, grease, smoke, and regular spray. A spot above a fireplace or close to a grill may look tidy, but heat can build around the screen and cables. Poolside placement also needs careful planning. Follow the TV manufacturer's clearance guidance, the rules for the other equipment in the area, and local electrical requirements.
Brightness alone will not repair a poor location. A very bright TV can still look uncomfortable when direct sun hits the screen or pool water reflects into it. Shade, screen direction, anti-glare performance, and brightness work together. Solve the light at the site first, then use the TV's brightness to support that plan.
Climate also changes the installation. Coastal salt air, pool chemicals, freeze-thaw weather, desert heat, and high wind all place different demands on the enclosure, fasteners, mount, and cable protection. Check the exact model's operating range and material guidance when any of these conditions apply.
Set the viewing height from the seats
There is no single correct outdoor TV height. A relaxed patio sofa sits lower than a bar-height table. Start with the center of the screen near the natural eye line of the main viewers, then adjust for distance, furniture, and foot traffic.
If the TV must sit higher, use a tilt mount so viewers do not need to lean their heads back. Before drilling, tape a cardboard outline to the wall. Sit down. Watch it for a minute. It feels basic, but it catches height mistakes early.
2. Match the mount to the TV, wall, and weather
An indoor mount may fit the bolt pattern, yet that does not make it a good outdoor choice. Look for a mount made for exterior use, with corrosion-resistant materials or coating. It must support the TV's full weight and match its mounting pattern.
The mounting-hole pattern is often described as the VESA interface. Check the TV specification and the mount specification rather than guessing from screen size. The VESA FAQ gives useful background on the standard, but the TV and mount manuals remain the final reference for compatibility.
| Mount type | Works well when | Trade-off |
|---|---|---|
| Fixed | The seating position and screen height are already right. | Low profile, but less access to ports and no angle adjustment. |
| Tilt | The TV sits above seated eye level or needs minor glare control. | Useful vertical adjustment, but little or no side-to-side movement. |
| Full-motion | People watch from a dining table, lounge area, and pool deck. | More flexible, but the extended arm creates more leverage on the structure. |
Do not size the mount by TV width alone. Check the rated load, VESA pattern, fastener requirements, extension distance, and movement range. For a full-motion mount, confirm that the cables will not pull tight when the screen turns.
3. Confirm what is behind the finished surface
Siding, stucco, decorative stone, and wall panels are finishes. They may hide the structure, but they usually are not the structure themselves. The mounting fasteners need to connect to suitable framing or a sound masonry base as required by the mount maker.
- Wood-framed exterior wall: locate the structural studs and account for the thickness of siding or cladding.
- Brick, block, or concrete: use the correct mounting method for that material and the specified load. Old or damaged masonry needs extra care.
- Pergola post or beam: confirm that it is structural, not a thin decorative cover. Wind and an extended arm can increase the load.
- Freestanding setup: use an outdoor-rated stand with a stable base, safe anchoring, and cable protection to reduce trip risk.
If the substrate is uncertain, stop and ask a contractor. A neat wall surface can hide rot, thin sheathing, hollow cladding, or poorly placed framing. This is not the place to improvise.
4. Plan power, signal, and cable protection before mounting
Power is often the point where a simple DIY plan becomes professional work. In the United States, outdoor receptacles commonly need GFCI protection and weather-resistant covers, but the exact rules depend on the location and current local code. If a suitable outlet is not already in place, use a licensed electrician.
A household extension cord should not become the permanent power plan. The U.S. Consumer Product Safety Commission provides practical guidance on choosing and using extension cords safely. For a permanent installation, a properly located outdoor outlet is cleaner, safer, and easier to maintain.
Map every connection at the same time:
- AC power
- Wi-Fi or Ethernet
- HDMI sources
- USB devices
- Antenna or cable input
- Soundbar, speakers, or Bluetooth audio
Use cables and connectors that suit the environment and the equipment instructions. Route them so water does not travel toward a connector. Avoid sharp bends, pinched points, loose loops, and paths where people walk. Also leave a small service loop where the mount moves. The goal is simple: the cable should move without pulling and remain reachable without taking the whole installation apart.
Test Wi-Fi at the actual wall
Testing from the kitchen doorway is not enough. Hold a phone close to the intended TV position and test the connection with the patio doors closed. If streaming is unstable, solve it before installation with better access-point placement, a mesh node, or a wired Ethernet run where practical.
5. Test the TV and sources before lifting it
Set the TV on a stable protected surface and complete a basic test first. Connect power, join the network, update the software, sign in to the main apps, and check the remote. Then test each planned input and the audio system.
This small step avoids a very annoying situation: mounting a large screen, discovering that one cable is faulty, and taking it down again.
Before the lift, confirm:
- The correct brackets are attached to the TV.
- All bolts match the manual and engage correctly.
- Power and signal cables reach without tension.
- The wall plate is level and fixed to the intended structure.
- The mount's safety locks or retaining screws are ready.
- Two or more people are available for a safe lift when required.
6. Mount the screen, then check every position
Lift the TV as the mount instructions describe. Do not hold it by the screen face. Once it is seated, engage the safety locks before releasing the load.
Now move the mount through its normal range. Tilt it. Turn it. Pull it forward and return it to the wall. Watch the cables while doing this. Nothing should rub, pinch, disconnect, or carry the weight of another component.
Keep the ventilation space required by the TV manufacturer. Outdoor air can still become hot and still around a covered patio. Decorative cabinets, covers, and recessed wall openings should not block airflow or trap heat.
Cover or enclosure?
A fitted cover can reduce dust, pollen, UV exposure, and cosmetic wear while a weather-rated TV is not in use. Let the screen cool before covering it, and keep the ventilation points clear.
A full enclosure is a different choice. It can add tamper resistance, concealment, or another layer of environmental protection, but it also adds bulk and makes heat and moisture control harder. If the plan includes a cabinet or recessed opening, treat airflow, drainage, service access, and temperature control as part of the design—not as details to solve after installation.
7. Tune the picture and sound in real conditions
A picture setting that looks good indoors may look flat outside. Test the screen in daylight and again after dark. Use the TV's light sensor or day/night modes when available, then make small changes if needed. At night, maximum brightness can feel harsh. During the day, too little brightness can hide shadow detail.
Outdoor sound behaves differently too. Open space does not reflect sound like a living room, and nearby traffic or a pool can mask dialogue. Start with the built-in speakers. If voices are still hard to hear at normal volume, add an outdoor-suitable soundbar or speaker system rather than pushing the TV volume to its limit.
Outdoor TV installation ideas for common spaces
The best layout supports the way people use the area. These outdoor TV installation ideas and outdoor TV mounting ideas are starting points, not fixed templates.
Covered patio wall
This is often the cleanest setup. A fixed or tilt mount keeps the screen close to the wall, while the roof gives useful shade. Place the outlet and connections behind or near the screen, but keep them accessible.
Pergola post with a full-motion mount
This can serve a dining table and a lounge zone with one screen. The post must support the load and movement of the mount. Check the viewing angle in both positions and make sure the cables have enough controlled slack.
Outdoor kitchen
Mount the TV where the cook and guests can see it, but not directly above the grill or close to grease and heat. A side wall often works better than the visually obvious center position.
Poolside lounge
Use a location that reduces reflections from the water and keeps power connections away from splash zones. Pool installations have extra electrical considerations, so involve a qualified professional and follow local rules.
Hospitality terrace or outdoor bar
Plan for longer daily use, repeated cleaning, cable security, and service access. Staff should be able to reach controls and sources without moving furniture or opening a complicated enclosure.
Common outdoor TV mounting mistakes
- Choosing the wall before checking the sun: the TV may face glare during the main viewing hours.
- Using an indoor mount outside: corrosion and weather exposure can shorten its useful life.
- Attaching only to a surface finish: siding or decorative panels may not support the load.
- Ignoring movement load: a full-motion arm puts more leverage on the wall when extended.
- Hiding every cable too tightly: the installation looks neat until a connector needs service.
- Skipping the network test: a strong indoor signal does not guarantee stable outdoor streaming.
- Mounting too high: the screen may clear a counter but become uncomfortable for seated viewers.
- Covering the TV while it is hot or running: this can trap heat and block ventilation.
How MWEdisplay fits into an installation plan
A good installation plan should connect product features to real site conditions. The MWEdisplay 4K Ultra-Bright Outdoor Smart TV is available in 55-, 65-, and 75-inch sizes. Its IP55-rated enclosure, up to 2,000-nit brightness, automatic day/night adjustment, 178-degree viewing angle, and webOS smart platform are designed for outdoor viewing rather than an indoor TV placed outside.
For installation, the practical details matter just as much. The TV includes a wall-mount bracket and supports common connections such as HDMI, USB, Wi-Fi, Bluetooth, Ethernet, and antenna input. That gives an installer several ways to handle streaming, local media, live TV, and external audio. Still, check the current product specification, included hardware, wall structure, and local power requirements before work begins.
MWEdisplay's role is not only to supply a bright screen. The better result comes from matching the screen, location, mount, and connection plan as one system. If one part is ignored, users notice it later.
Planning a patio, poolside, or hospitality installation?
Review the current sizes, specifications, connectivity, and included accessories for the MWEdisplay Outdoor Smart TV before finalizing the wall and cable layout.
For a commercial project or an unusual mounting surface, share site photos, viewing distance, sunlight direction, and operating hours when requesting advice. Those details make the recommendation far more useful.
Post-installation checklist
- The wall plate and TV brackets are secure.
- All mount safety locks are engaged.
- The screen is level in its normal viewing position.
- The mount moves without cable tension or pinching.
- Power and connections are protected and accessible.
- Ventilation openings remain clear.
- Wi-Fi or Ethernet is stable during streaming.
- Picture settings work in daylight and at night.
- Audio is clear from the main seats.
- The remote, apps, HDMI sources, and external audio have been tested.
After installation, inspect the mount, cables, seals, and surrounding structure from time to time, especially after severe weather. Clean the screen only with methods approved in the product manual. If you use a cover, let the TV cool first and make sure the cover does not trap moisture.
Final thought
The strongest outdoor TV installation is rarely the most complicated one. It is the one that solves sunlight, structure, power, access, and viewing comfort before the screen goes on the wall. Take those decisions in order. The final setup will look cleaner, work better, and be much easier to live with.
Frequently asked questions
What is the best place to install an outdoor TV?
The best place is a shaded or sheltered position with a clear view from the main seats. Keep the screen away from direct heat, cooking smoke, regular spray, and strong glare. Check the sun during the hours when you expect to watch.
Do I need a special mount for an outdoor TV?
Yes. Use an outdoor-rated, corrosion-resistant mount that supports the TV's weight and matches its VESA mounting pattern. Also check whether a fixed, tilt, or full-motion design fits the viewing area and wall structure.
Do I need an electrician for outdoor TV installation?
If a suitable code-compliant outdoor outlet is not already available, use a licensed electrician. Outdoor power may require GFCI protection, weather-resistant equipment, and installation methods set by local code.
Can I install an outdoor TV on brick or stone?
Yes, when the underlying material is sound and the mounting method suits that material and load. Decorative veneer, weak mortar, or damaged masonry may need a different solution, so ask a qualified installer when the structure is uncertain.
How high should an outdoor TV be mounted?
There is no universal height. Start with the center of the screen near seated eye level, then adjust for viewing distance, furniture, counters, and walkways. If the screen must sit higher, a tilt mount can improve comfort.
Does an outdoor TV still need a cover?
A weather-rated TV is built for its stated outdoor exposure, but shelter or a suitable cover can reduce dirt and wear when the TV is not in use. Let the TV cool before covering it, and never block ventilation while it is operating.

Commenta
Questo sito è protetto da hCaptcha e applica le Norme sulla privacy e i Termini di servizio di hCaptcha.