
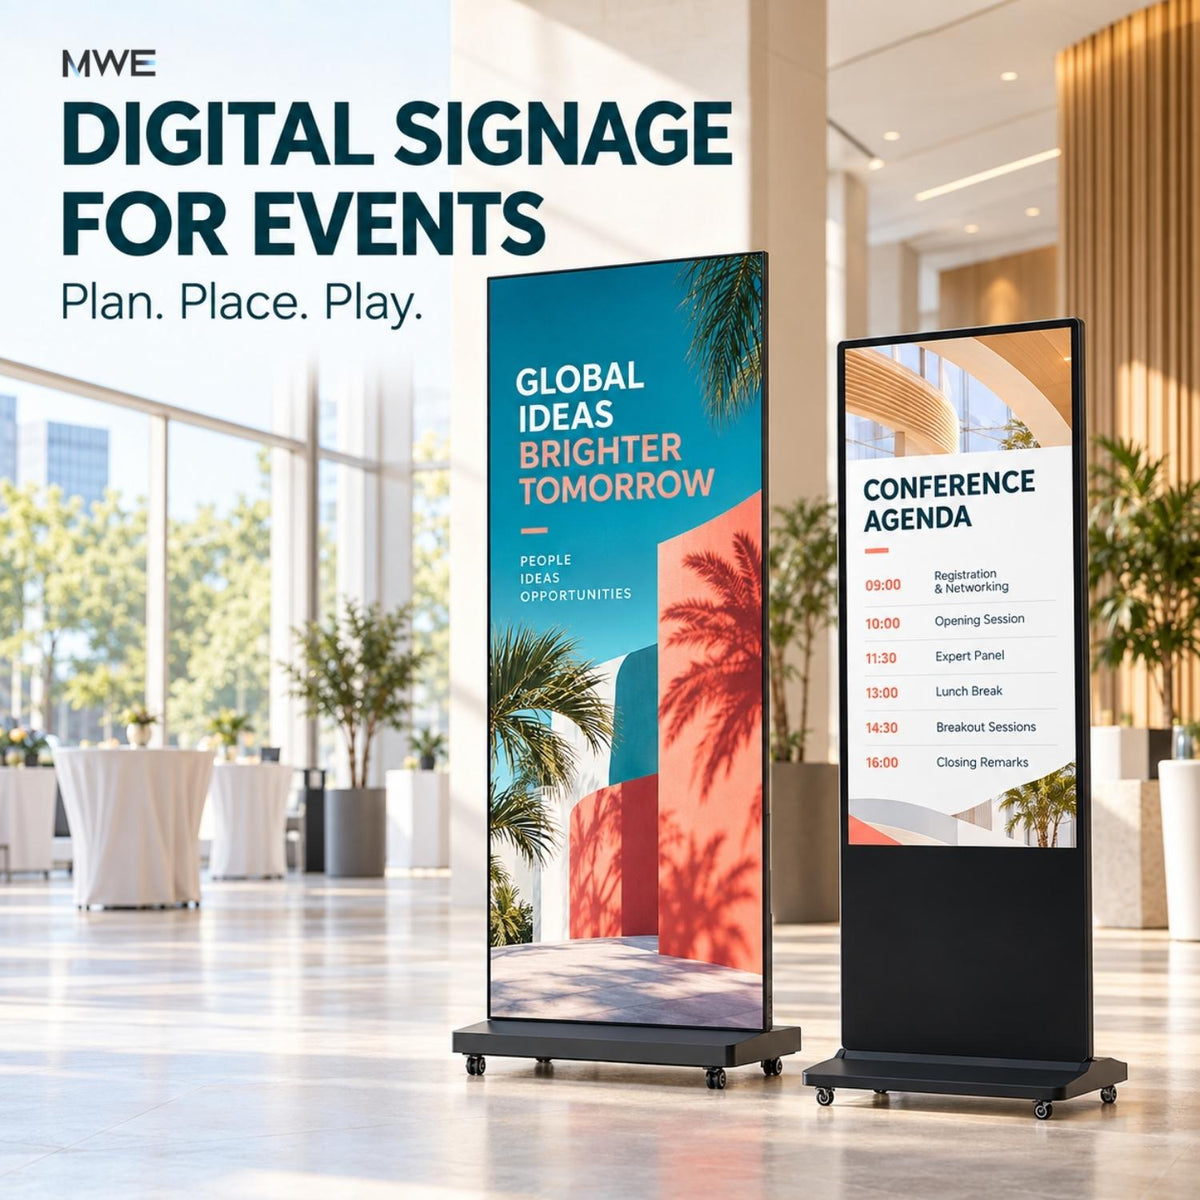
A visitor arrives just as a session moves to another room. At the exhibition booth, a product demo is about to start. Near registration, someone is trying to find the correct line. These are three different communication problems, even if all three can use a screen.
Digital signage for events works best when each display has one clear job, the content fits its location, and someone owns the update process. Buying a larger screen does not fix an outdated agenda or a direction that appears after the visitor has already taken the wrong turn.
This guide focuses on indoor conferences, trade shows, product launches, and business events. It covers screen placement, LED vs. LCD selection, a small starting setup, and a practical rehearsal before doors open.
Quick starting plan: Choose one attendee decision to improve. Put one screen where that decision happens. Prepare a readable message and a backup version. Test both on the actual hardware, then add more screens only where they solve a separate problem.
What does an event digital signage setup include?
A complete setup has four parts: display hardware, playback, content, and an operator. The player may be built into the screen or connected externally. The content may be a local slideshow, scheduled playlist, or live application. The operator keeps it correct throughout the event.
Do not confuse those layers when comparing offers. A touchscreen does not automatically include badge printing or registration software. A network connection does not automatically provide a live agenda integration. A screen showing a QR code does not need touch capability unless the visitor will also interact with the screen itself.
For example, Kitcast's event platform describes schedules, sponsor content, wayfinding, and cached playback as software capabilities. That is useful context for planning, not confirmation that a particular app runs directly on every MWE display. Verify the player and software combination separately.
Where to place digital signage at an event
Walk the attendee route before deciding on the screen count. Note where people arrive, stop, choose a direction, wait, and leave. Place the display before the decision it supports, with enough room for someone to read it without blocking the route.
| Location | Primary job | What to show | What to avoid |
|---|---|---|---|
| Arrival or registration approach | Confirm the visitor is in the right place | Event name, registration direction, opening status | A long sponsor loop that hides the arrival instruction |
| Hallway decision point | Help people choose a route | Room names and clear directional arrows | A detailed venue map with text too small to read while walking |
| Outside a session room | Confirm what is happening there | Current session, next session, start time, room name | Yesterday's agenda or a countdown based on the wrong clock |
| Exhibition booth edge | Explain why someone should stop | One product benefit, demonstration time, invitation to speak to the team | A full presentation deck designed for seated viewers |
| Networking or waiting area | Use longer viewing time productively | Sponsor messages, approved event highlights, upcoming sessions | Unmoderated posts or audio that competes with conversations |
Check the view with people standing where queues are likely to form. A clear screen in an empty venue may disappear behind a line of attendees. Ask the venue team to approve the location, cable route, access space, and stability arrangements. Keep required exit signs and emergency equipment unobstructed.
For mounting, power, and installation planning beyond the event workflow, see the digital signage installation guide.
LED vs. LCD: choose for the message, not just the size
Here, LED means direct-view LED, where the LEDs form the visible pixels. It is different from an LCD screen that uses LED backlighting. The distinction matters when preparing close-up text or combining multiple display units.
| Decision | Floor-standing LCD | Spliceable LED poster |
|---|---|---|
| Main content | A candidate for readable schedules, product details, and information screens | A candidate for bold brand graphics, motion, and a larger combined visual |
| Close viewing | Compare the selected panel's resolution, text size, and glare | Test the pixel pitch and real content at the nearest viewing position |
| Interaction | Select a touch version only when the application requires it | Do not assume touch input is available |
| Expanding the image | A larger model or separate displays; panel borders remain relevant | Compatible units may form a wider canvas, subject to the controller and installation plan |
| Event logistics | Check cabinet weight, base footprint, transport protection, and loading access | Check case dimensions, handling requirements, alignment, and configuration time |
A large diagonal measurement is not a measure of text clarity. Ask for a test of your agenda, logo, and video on the intended model. Stand at both the nearest and typical viewing positions. If a message is difficult to read, simplify the layout before assuming a larger screen is the solution.
For brand visuals: MWE 80" P1.86 Spliceable LED Display
The MWE 80" P1.86 Spliceable LED Digital Signage Display is an indoor option for a booth's main visual or a product-launch presentation area. The product page lists a 1.86 mm pixel pitch, a 344 × 1032 resolution, and flight-case package options. It is not an 80-inch 4K television.
For this application, start with a bold portrait design. If you plan to join units, confirm the supported layout, combined pixel canvas, signal path, and setup procedure before producing the final artwork. Do not stretch a standard slide across the installation without a preview.
For the hardware details, use the LED poster display guide and pixel-pitch guide. This event plan assumes indoor use; a protective LED surface treatment is not a substitute for a complete outdoor rating.
For attendee information: MWE 32"–65" Floor Standing Digital Signage
The MWE Floor Standing Digital Signage range offers touch and non-touch options across 32- to 65-inch sizes. The page lists USB playback, HDMI input, and Wi-Fi connectivity. Resolution varies by the selected size and configuration, so check the exact variant before creating content.
For a session timetable or booth information point, a non-touch version may be all you need. If visitors need to search or select information, evaluate the touch model together with the intended application. For an external computer, verify both video and touch connections rather than assuming HDMI carries touch input.
Neither display type removes the need for a handling plan. A freestanding cabinet is not automatically easy for one person to move, and a wheeled transport case does not mean the display itself has wheels.
Start with one screen, then expand by task
The lowest-complexity starting point is one screen with one purpose. At a small booth, it might announce the next demonstration. At a conference entrance, it might identify registration and the opening session. Avoid forcing a single screen to be a directory, sponsor wall, product catalog, and welcome board at the same time.
A one-screen pilot
- Choose the most important information gap at the location.
- Build a small set of reusable slides using existing approved logos and imagery.
- Use a supported local playback method if the message changes infrequently.
- Assign one staff member and a backup to maintain the content.
- Keep a printed or otherwise accessible fallback for essential directions.
This can keep the initial project manageable. It is not a claim that buying a new screen is always the cheapest option: an existing venue display or a local rental may cost less for a single event.
When a second screen makes sense
Add another screen when two messages must stay visible in different places or at the same time. For example, use an LCD information screen for the next demo time and an LED poster for the demonstration's main visual. The schedule no longer disappears whenever a promotional video plays.
A third display should have its own reason to exist, such as a separate room entrance. More screens increase the work of transporting, checking, and updating the system. Do not use attendance alone as the screen-count formula.
Printed signs vs. digital screens: use both where they fit
A printed sign remains useful when a message is fixed, the placement has no suitable power, or a simple backup is needed. Digital screens become useful when several messages share a location, content changes during the day, or motion helps explain a product.
A sensible event plan can use printed arrows for a route that will not change, an LCD for the changing agenda, and an LED display for brand content. Keep essential directions continuously available. Do not make a visitor wait through advertising to find the correct room.
Build the content around the event timetable
Prepare content by event phase, not just by sponsor or department. Use one master schedule with an owner, and make the screen content follow that schedule. Separate drafts from approved files so an operator cannot accidentally play an old version.
| Phase | Information screen | Brand or sponsor screen | Operator check |
|---|---|---|---|
| Before doors open | Welcome message and correct registration location | Approved opening visual | Confirm date, venue, room names, and local time |
| Arrival period | Where to register and when the first session starts | Short sponsor or product loop | Check visibility after queues form |
| Sessions and breaks | Current and next session, room changes if approved | Relevant demo times or scheduled sponsor content | Remove expired notices; verify changes on the physical screens |
| Closing | Departure information and one feedback invitation | Closing visual and sponsor acknowledgment | End the event playlist so it does not run at the next venue |
This is a planning example, not a report of an MWE customer deployment or measured event outcome.
Example room-change message:
Product Demo — 2:30 PM
Now in Room B
Follow signs to the east corridor
Make the replacement message the main content, not a small scrolling line beneath an unrelated video. Publish it only after the event team confirms the change.
Design for a standing, moving audience
Use a clear hierarchy: destination or topic first, time or action second, optional detail last. Keep essential information away from the screen edges, use strong contrast, and preview the exported file on the actual display. A presentation that looks fine on a laptop may be too dense for a hallway.
Use the player's confirmed canvas dimensions. A portrait LCD file and a tall LED-poster file may have different proportions; cropping can remove arrows, times, or logos. For multiple joined LED units, have the operator verify the full combined canvas before the content team finishes production.
For video, make the central message understandable without audio. For QR codes, offer a short readable alternative, leave a clear area around the code, and test it with a phone from the intended standing position. A moving QR code or one visible only briefly is a poor invitation to participate.
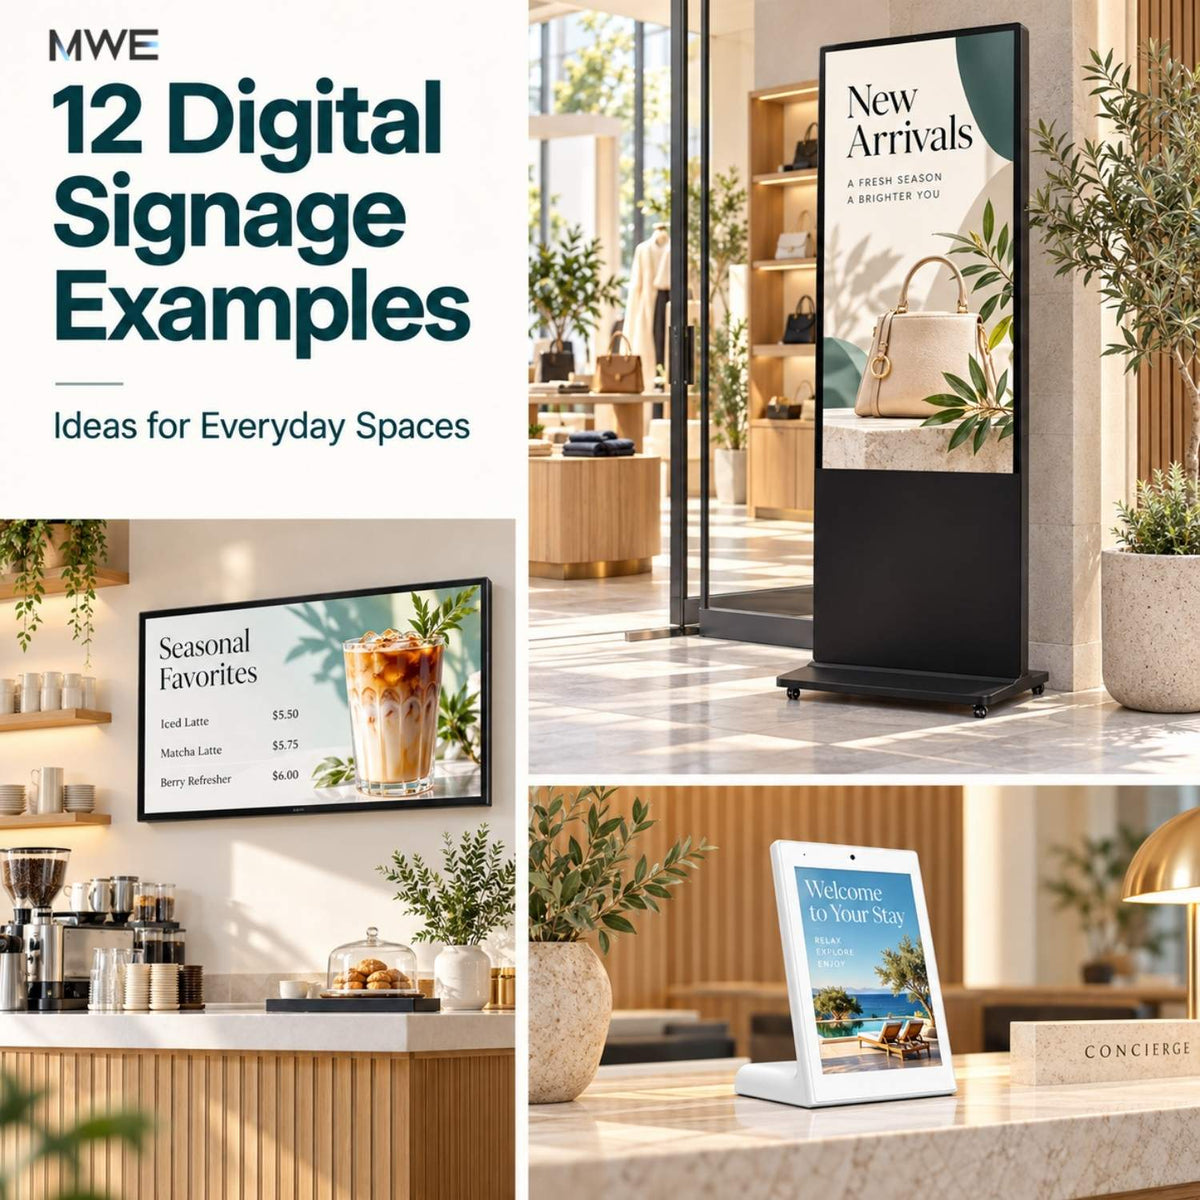
For more content patterns, see these digital signage examples.
Local playback vs. connected software
Choose the update method by the work it needs to support. A fixed welcome loop has different requirements from a multi-room event with frequent changes.
| Workflow | Useful when | Rehearse before deployment |
|---|---|---|
| Supported local files | One or a few screens with stable content and an operator nearby | Accepted formats, file order, looping, restart behavior, and how to replace old content |
| Compatible CMS and player | Several locations need frequent updates or scheduled changes | Device compatibility, permissions, licensing, time zone, publishing delay, and offline behavior |
| External computer or media player | A demo or application requires a specific playback environment | Input selection, scaling, sleep settings, notifications, network access, and any separate touch connection |
A free software tier can reduce license costs, but it is not a free deployment. DigitalSignage.com currently advertises a free tier for three screens. Confirm current limits, supported devices, storage, and event requirements directly with the provider. This mention is not a verified compatibility claim for either MWE product.
Keep a fallback that reflects how quickly information can become stale. A cached sponsor video may remain useful during a network outage; an old room-change notice can send people in the wrong direction. Decide which content can remain on screen and which should be replaced with a neutral instruction to ask the event desk.
Social walls are an optional software layer
A social wall needs a service that gathers and displays approved content. Social Walls describes collection, curation, and moderation as part of its platform. Treat it as a separate application to evaluate, not an included screen feature.
Set an approval policy, get appropriate permission for displayed photos, and assign a moderator. Keep registration instructions and room information independent of the social feed. If moderation or connectivity is unavailable, switch to an approved local visual rather than leaving an empty or uncontrolled feed.
Rehearse the event, not just the video
A successful test means the team can handle a change under event conditions. Ask the person who will operate the screen to perform the following checks, rather than leaving every step to the initial installer.
- Verify the loading route. Check the packed equipment against doorways, elevators, vehicle space, storage, and venue access times. Confirm suitable handling equipment and trained help.
- Confirm the installed position. Check the base, stability, ventilation, power route, and sightline with the venue team. Follow manufacturer instructions for movement and setup.
- Run the real files. Test video, slides, arrows, logos, and QR codes. Look for cropped edges, stretched graphics, unreadable text, and incorrect rotation.
- Play the full sequence. Watch transitions and check that important information is not hidden for too long. Confirm the selected input and audio setting.
- Rehearse an update. Change a sample room or time, obtain approval, publish, and have a second person verify the physical screen. Undo the test afterward.
- Test loss of connectivity. Check which files continue playing, what live content does, and how the operator activates the fallback.
- Test an authorized restart. During setup, follow the equipment's shutdown and startup instructions. Confirm the correct content returns without a password prompt, wrong input, or setup screen.
- Hand over control. Record who approves changes, who publishes, where backup content is stored, and how to contact support. Keep credentials in an appropriate secure system.
If multiple screens should switch together, test the actual timing. Scheduling the same start time is not proof of frame-accurate synchronization. A joined visual needs its own controller and synchronization checks.
These screens supplement event communication; they are not a replacement for the venue's required emergency signs, public-address systems, or safety procedures.
Rent vs. buy: compare the whole event cost
Do not compare a rental quote only with the display purchase price. Put transport, storage, installation, operator time, software, content production, and support into both options. Ask rental suppliers what is included and who responds if a screen fails during the event.
Ownership cost per event:
(Purchase + planned maintenance + storage − estimated resale value) ÷ expected events
+ transport + setup labor + software + content work per event
Rental cost per event:
Rental charge + delivery/collection + setup + operator/support + any software or content charges not included
Use a realistic event count and the same time period for both options. Ownership may be useful when the same displays can serve repeated events and indoor business locations between shows. Rental may be more practical for an occasional event or when local setup support matters more than owning equipment.
The digital signage cost guide explains the wider budget categories. Request a configuration-specific quote rather than assuming a product-page starting price covers every size, accessory, or event requirement.
Measure whether the screens helped
Choose a measure linked to the screen's job. For directions, note repeated questions at the event desk and locations where visitors still hesitate. For a demo invitation, record attendance or scans of that screen's specific link. For content operations, record how long a room change takes to reach the physical display.
Keep the limits clear: a QR scan is not a qualified lead, a scheduled playback is not proof that someone watched, and a change between two events does not prove the screen caused it. Note differences in attendance, staffing, and location before drawing conclusions.
After the event, save the approved templates and remove obsolete messages. Record one improvement for the next deployment: a better location, a shorter message, a simpler update method, or a more reliable fallback. That is a useful basis for expanding beyond the first screen.
Plan your indoor event display setup
Share your venue layout, nearest viewing distance, content samples, screen locations, transport route, and expected reuse with MWEdisplay. Those details help determine whether a floor-standing LCD, an LED poster, or a combination suits the job.
Frequently asked questions
What is digital signage for events?
Digital signage for events uses electronic screens to show welcome messages, directions, schedules, sponsor content, and other event information. A working setup includes the display, a playback device or built-in player, approved content, and an update process. Live feeds and interactive features require compatible software and connectivity.
What is the lowest-complexity way to start?
Start with one indoor screen at one important decision point, a small set of approved slides, and a tested local playback method supported by the device. Assign someone to update it. This can reduce initial complexity, but the lowest total cost depends on existing equipment, transport, setup labor, and how often the screen will be reused.
Is LED or LCD better for event signage?
LCD is a practical candidate for nearby schedules, product details, and optional touch interaction. A spliceable direct-view LED poster is a candidate for bold brand visuals and a wider combined display. Compare the actual content at the intended viewing distance; screen size alone does not determine readability.
Does event digital signage need an internet connection?
Not always. Compatible local files may play without internet, and some software caches content on the player. Remote updates, social feeds, and other live services generally need connectivity. Test the chosen system offline, including a restart, and keep a current fallback slide available.
Can MWE screens run a social wall or event check-in system?
These functions require a compatible application, browser workflow, or external player, plus any necessary licenses and integrations. Touch hardware alone does not provide registration software. Confirm the exact screen model, operating system, connection method, and touch requirements with the suppliers before deployment.
How many screens should an event use?
Choose screen locations by attendee decisions rather than attendance alone. One screen may cover a small booth or welcome point. Separate screens become useful when people need different information at registration, room entrances, and exhibit areas at the same time. More screens also require more power, content control, and staff attention.
Should I rent or buy displays for events?
Compare complete costs over the number of events you realistically expect to run. Rental may suit occasional use or projects needing local setup support. Ownership may suit repeated use when you can store, transport, maintain, and reuse the equipment. There is no universal number of events at which buying becomes cheaper.
Product and software references checked October 12, 2026. Configuration, availability, licensing, and compatibility should be confirmed before ordering. Deployment examples are illustrative, not customer case studies.

Leave a comment
This site is protected by hCaptcha and the hCaptcha Privacy Policy and Terms of Service apply.